RockyLinux 8.5安装Zabbix6.0 LTS+MariaDB 10.6+Apache
最后更新于:2023-04-14 11:15:12
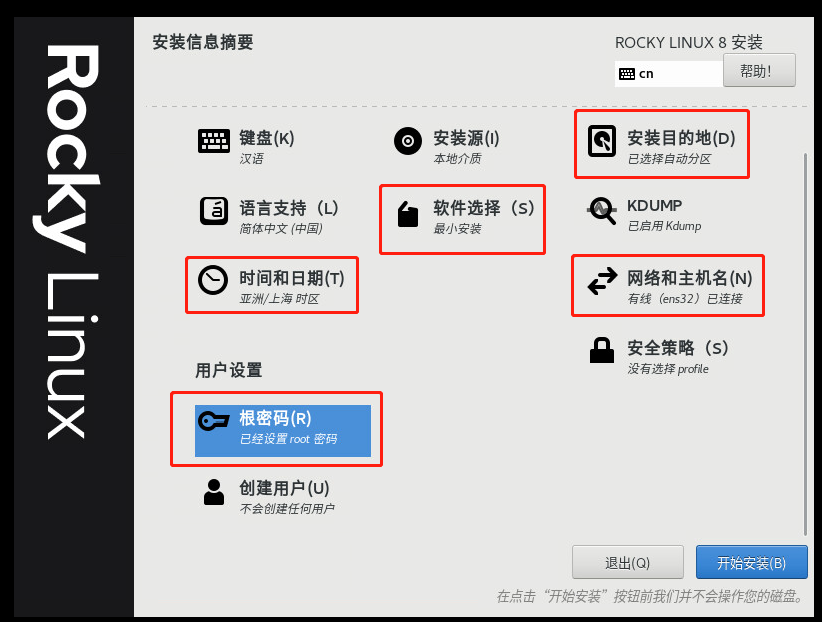
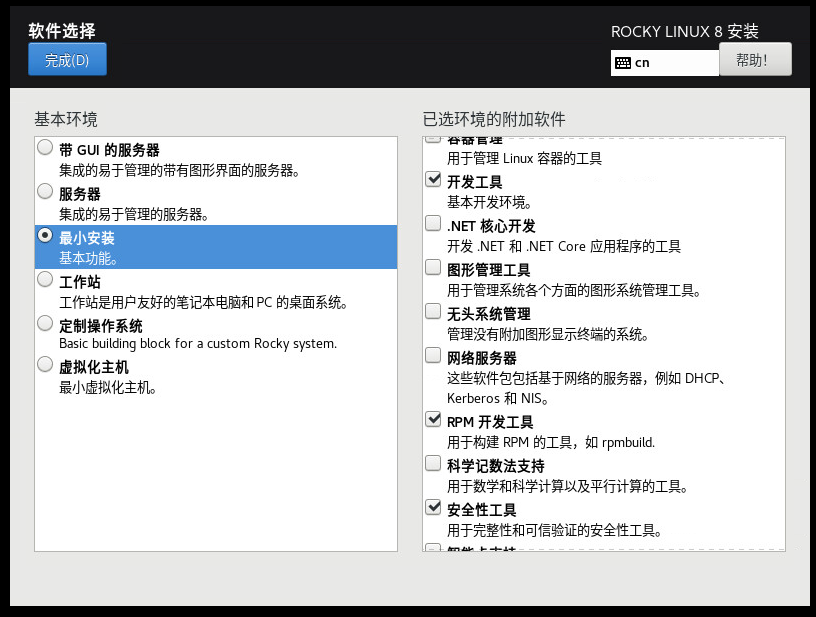
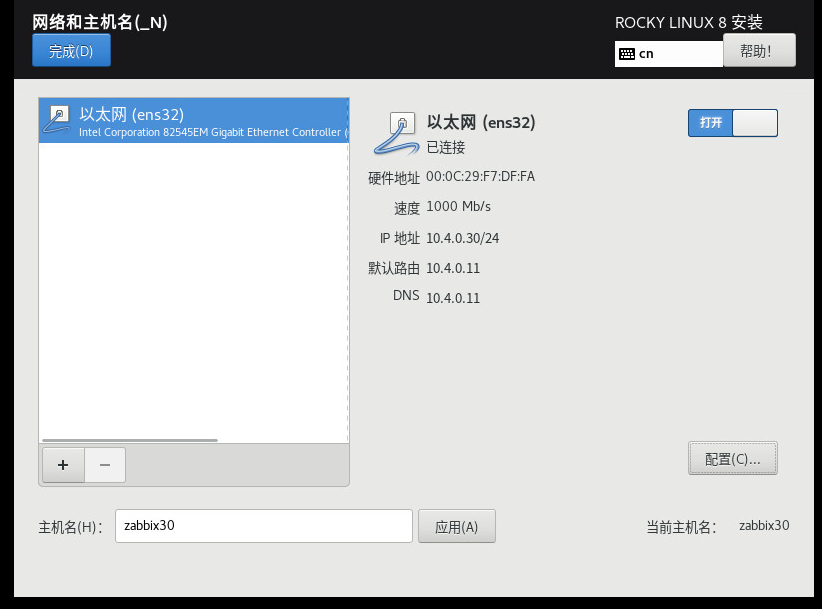
1:虚拟机设置
2:关闭防火墙及selinux
//关闭防火墙
systemctl stop firewalld
systemctl disable firewalld.service #禁止firewall开机启动
//关闭selinux
setenforce 0 #临时关闭
vi /etc/selinux/config #关闭selinux
将config中的SELINUX改为SELINUX=disabled
//重启服务器
init 6
或
reboot
2:安装 Zabbix 服务器、前端和代理
rpm -Uvh https://repo.zabbix.com/zabbix/6.0/rhel/8/x86_64/zabbix-release-6.0-1.el8.noarch.rpm

dnf clean all
dnf -y install zabbix-server-mysql zabbix-web-mysql zabbix-apache-conf zabbix-sql-scripts zabbix-selinux-policy zabbix-agent3:安装和配置数据库
a. 安装 MariaDB 10.6及启动、开机启动
curl -LsS -O https://downloads.mariadb.com/MariaDB/mariadb_repo_setup

sudo bash mariadb_repo_setup --mariadb-server-version=10.6
dnf -y install mariadb-server && systemctl start mariadb && systemctl enable mariadbb.重置数据库的根密码
mariadb-secure-installationEnter current password for root (enter for none): Press Enter
Switch to unix_socket authentication [Y/n] y
Change the root password? [Y/n] y
New password: #输入数据库根密码(我设置的密码为1024789)
Re-enter new password: #再次输入数据库根密码(我设置的密码为1024789)
Remove anonymous users? [Y/n]: Y
Disallow root login remotely? [Y/n]: Y
Remove test database and access to it? [Y/n]: Y
Reload privilege tables now? [Y/n]: Yc. 创建数据库
sudo mysql -uroot -p'1024789' -e "create database zabbix character set utf8mb4 collate utf8mb4_bin;"
#输入数据库根密码(我设置的密码为1024789)

sudo mysql -uroot -p'1024789' -e "grant all privileges on zabbix.* to zabbix@localhost identified by 'zabbixDBpass';"
#zabbixDBpass为zabbix数据库密码
d. 导入初始架构和数据
sudo zcat /usr/share/doc/zabbix-sql-scripts/mysql/server.sql.gz | mysql -uzabbix -p'zabbixDBpass' zabbix
#zabbixDBpass为zabbix数据库密码
e.在Zabbix配置文件中输入数据库密码
使用命令打开文件(请使用"vi或vim"):zabbix_server.conf
vim /etc/zabbix/zabbix_server.conf

#在文件中取消注释并修改zabbix数据库密码

DBPassword=zabbixDBpass
保存并退出文件(i退出编辑,后跟:wq!并回车)
4:启动Zabbix服务器和代理进程
systemctl restart zabbix-server zabbix-agent
systemctl enable zabbix-server zabbix-agent
5:配置 Zabbix 前端
a. 重新启动 Apache Web 服务器,并使其在系统启动时启动
systemctl restart httpd php-fpm
systemctl enable httpd php-fpm
b.配置 Web 前端
使用 浏览器"http:// server_ip/zabbix"连接到新安装的 Zabbix 前端,以启动 Zabbix 安装向导。在此向导中,您只需要输入Zabbix DB用户的密码,对于其他内容,只需单击"下一步"即可。
6:使用Zabbix默认登录凭据登录到前端
使用Zabbix默认管理员用户名"Admin"和密码"zabbix"(不带引号)通过浏览器登录到URL"http:// server_ip_or_dns_name/zabbix"的Zabbix前端。
7:优化Zabbix服务器(可选)
如果您计划监视大量设备,请继续执行此步骤。
使用vim
命令打开zabbix_server.conf
文件:
vim /etc/zabbix/zabbix_server.conf然后将下列配置添加到文件中的任意位置:
StartPollers=100
StartPollersUnreachable=50
StartPingers=50
StartTrappers=10
StartDiscoverers=15
StartPreprocessors=15
StartHTTPPollers=5
StartAlerters=5
StartTimers=2
StartEscalators=2
CacheSize=128M
HistoryCacheSize=64M
HistoryIndexCacheSize=32M
TrendCacheSize=32M
ValueCacheSize=256M
保存并退出文件
8:优化 MySQL/MariaDB 数据库(可选)
有时您会碰到下面这个告警:[Z3001] connection to database 'Zabbix' failed: [1040] Too many connections/var/log/zabbix/zabbix_server.log
那么您可以添加如下配置:
a. 创建自定义 MySQL 配置文件
通过vim
命令创建mysql.cnf
配置文件:
vim /etc/my.cnf.d/mysql.cnf粘贴如下配置:
[mysqld]
max_connections = 404
innodb_buffer_pool_size = 800M

innodb-log-file-size = 128M
innodb-log-buffer-size = 128M
innodb-file-per-table = 1
innodb_buffer_pool_instances = 8
innodb_old_blocks_time = 1000
innodb_stats_on_metadata = off
innodb-flush-method = O_DIRECT
innodb-log-files-in-group = 2
innodb-flush-log-at-trx-commit = 2

tmp-table-size = 96M
max-heap-table-size = 96M
open_files_limit = 65535
max_connect_errors = 1000000
connect_timeout = 60
wait_timeout = 28800
保存并退出文件,给该文件添加权限:
chown mysql:mysql etc/my.cnf.d/mysql.cnf
chmod 644 etc/my.cnf.d/mysql.cnf
要注意的2个参数:
- 参数
max_connections
必须大于所有 Zabbix 进程的总数加上 150。您可以使用以下命令自动检查Zabbix进程的数量(该命令的结果是加上了150后的值):
egrep "^Start.+=[0-9]" etc/zabbix/zabbix_server.conf | awk -F "=" '{s+=$2} END {print s+150}'404- 第二个重要的参数是
innodb_buffer_pool_size
。它决定了MySQL可以获得多少内存来缓存InnoDB表和索引数据。如果服务器上仅安装了数据库,则应将该参数设置为系统内存的 70%。
但是通常情况下,我们将Zabbix数据库和Apache安装在同一台服务器,因此建议将innodb_buffer_pool_size
设置为总系统内存的40%。如果服务器是2G RAM,那么这个值将设定为是800MB。
b. 重新启动 Zabbix Server 和 MySQL 服务
systemctl stop zabbix-server
systemctl stop mysql
systemctl start mysql
systemctl start zabbix-server
9:如何管理Zabbix MySQL Apache服务
有时您需要检查或重新启动Zabbix,MySQL或Apache服务, 使用下面的命令来执行此操作。
Zabbix Server
systemctl <status/restart/start/stop> zabbix-server

MySQL/MariaDB Server
systemctl <status/restart/start/stop> mysql

Apache Server
systemctl <status/restart/start/stop> httpd

PHP FastCGI Process Manager
systemctl <status/restart/start/stop> php-fpm

Zabbix Agent
systemctl <status/restart/start/stop> zabbix-agent

upgrade
dnf upgrade 'zabbix-*' 京公网安备11010502051074号